



A concrete landscape curb is a practical way to tidy up garden beds, lawn edges, paths, driveways and outdoor areas. It gives the garden a cleaner line, helps separate surfaces, and can make mowing and maintenance easier.
Traditionally, making a concrete curb meant building timber formwork, setting it out, bracing it, pouring the concrete, then removing the boxing once the concrete had cured. SNAP-IT™ gives DIYers a simpler way to form concrete garden edging by using a modular mould system that helps hold the shape while the concrete is poured and set.
Here’s a simple guide to planning and making a DIY concrete landscape curb with SNAP-IT™.
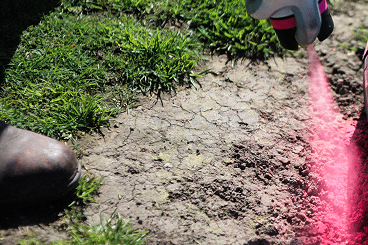
Start by deciding where the curb needs to go. This might be around a garden bed, along a path, beside a driveway, around a tree, or between lawn and planting.
Mark out the line first so you can see the shape clearly before you start digging. For straight runs, use a string line. For curves, use a hose, rope or marking paint to test the shape before committing.
If you are unsure what pieces you need, use the SNAP-IT™ Builder to map out your edge and estimate the mould pieces and fixings required.
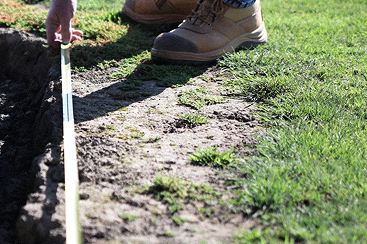
Measure the full length of the curb and check whether you need straight pieces, curves, corners or a kit.
This is also the stage to check how the finished curb will work with the surrounding area. Think about mowing access, garden bed depth, drainage, paths, driveways and any existing edges.
For curved designs, make sure you understand how the curve pieces fit together and how many pieces are needed to create the shape you want.
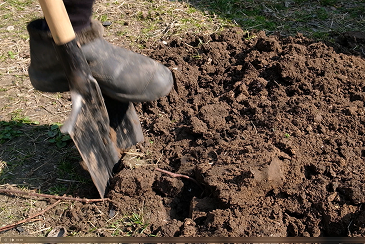
SNAP-IT™ is designed to form concrete edging that sits in the ground, so the trench matters.
Dig along your marked line to create space for the mould system and concrete. Keep the trench as even as possible, and remove loose soil, roots or stones that could affect the shape.
This is usually the most physical part of the job, especially if the ground is hard or dry. Take your time here. A cleaner trench makes the rest of the installation easier.
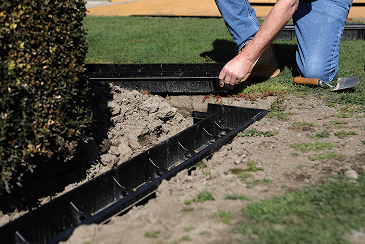
Place the SNAP-IT™ pieces into the trench and connect them together to form the shape of your curb.
Check the alignment as you go. Make sure the edge follows the line you planned, and adjust before you pour. This is much easier to fix now than after concrete has been added.
Use lock pins and reinforcing steel where needed to help hold the system in place and add strength to the finished concrete curb.
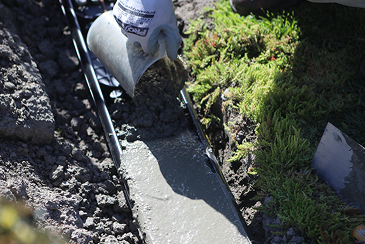
Mix your concrete or mortar according to the supplier’s instructions.
Pour the mix into the SNAP-IT™ mould system, working carefully along the length of the curb. Fill the mould evenly and avoid rushing, especially around curves and corners.
Use a trowel or finishing tool to smooth the surface as you go. If you are using a textured finish or SNAP-IT™ roller, this is the stage where you can create the final surface effect.
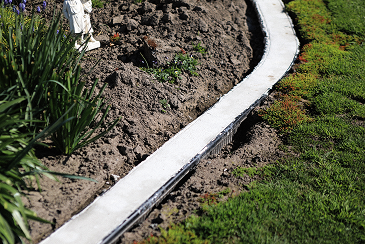
Once the curb has been poured and finished, leave the concrete to cure properly.
Curing time will depend on the concrete product used, weather conditions and the size of the project. Follow the instructions from your concrete supplier, and avoid disturbing the edge too early.
Keep an eye on weather conditions as well. Very cold, wet or hot weather can affect how concrete cures.
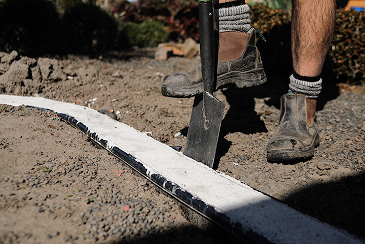
After the concrete has cured, complete the finishing steps for your project.
This may include trimming or removing visible mould sections where required, making control cuts if needed, cleaning up the edge, and backfilling around the curb with soil, mulch, gravel or lawn.
The final result should be a clean concrete landscape curb that gives the area a clearer shape and more finished look.
Before you start your DIY project, make sure you have:
SNAP-IT™ supplies the mould system used to form the concrete curb. Concrete and finishing materials are not included, so these need to be supplied separately.
Lay out your SNAP-IT™ pieces before digging or pouring so you can check the shape.
Use the SNAP-IT™ Builder if you need help estimating pieces and fixings.
Check your real-world measurements before ordering.
Allow enough time for digging, setting out, pouring and curing.
Remember that SNAP-IT™ is the mould system used to form the concrete edge. You will still need to supply your own concrete and finishing materials.
With a clear plan, the right SNAP-IT™ pieces and a bit of preparation, a DIY concrete landscape curb is a practical weekend project for improving garden edges, mowing strips and outdoor areas.
Plan it. SNAP-IT™ together. Pour your concrete. Job done.